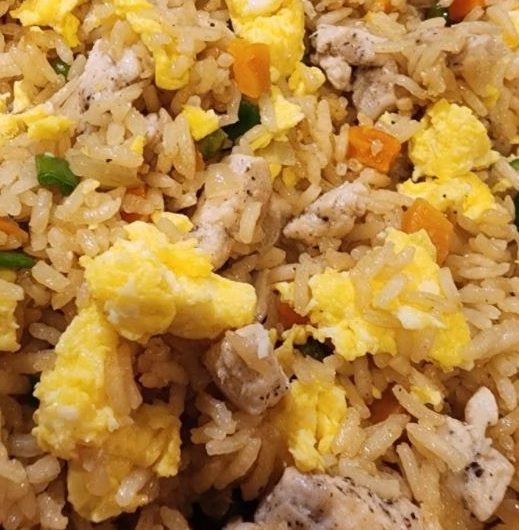
Your family is going to love this oven baked fried rice. This rice comes out perfect every time, full of flavor and better than take out!
Jump to RecipeThis post may contain affiliate links. As an Amazon Associate, I earn from qualifying purchases, at no cost to you. This allows me to support the cost of my blog site. See my Disclosure Policy.
I know I have said it before, but Chinese take out gets expensive! However, as one of the household favorite foods, having a perfect recipe for oven baked fried rice on hand makes dinner so quick and easy.
This recipe makes a ton of rice too, so I use this as a main or side. Sometimes I pair it with egg rolls, dumplings, or a chicken stir fry.
I have tried all the ways to make fried rice, using leftover refrigerated rice, instant pot, stove top, and none of them ever came out great. They also made a huge mess and required the use of so many dishes.
This simple and quick recipe only uses a sauce pan and a 9×13 pan. Another reason I love it!
Making Oven Baked Fried Rice
This rice comes together so quick and easy and makes so much, I typically make it once a week!
You start by toasting your rice in the butter on the stove. Add in the onions and sauté for a few more minutes till the onions become translucent.
In a jar or bowl, mix your broth, soy sauce, mirin, and white pepper (you can use black pepper, I just prefer white pepper for this dish).
Add the minced garlic to the pan with the rice and sauté for a minute then add the broth mixture to the rice along with the peas and carrots.
Pour everything into the 9×13 pan you have sprayed with cooking spray. Cover tightly with foil and bake at 400 for 30 minutes.
If you are adding chicken, grill your chicken while the rice is baking and set aside.
Remove the foil from pan after 30 minutes and allow it to cook for 10 more minutes uncovered.
During this last 10 minutes, scramble the eggs and set aside. We like a lot of eggs, so I use 6, feel free to use more or less depending on your preference.
When the rice is finished baking carefully add in the sesame oil, green onions, scrambled eggs and chicken and mix well.
Serve immediately with egg rolls or dumplings, or your favorite stir fry.
Chinese take-out night saved!
Check out some of my other amazing dinner ideas!
Oven Baked Fried Rice
Course: DinnerDifficulty: Easy5
servings10
minutes40
minutes1
hour10
minutesThis oven baked fried rice comes out perfect everytime.
Ingredients
1 1/2 cup white rice , uncooked
20 ounces chicken stock
3 tbsp butter
1 1/2 tbsp soy sauce
Frozen peas and carrots
6 eggs
1 tbsp mirin
1 tbsp minced garlic
1/2 cup diced onion
1/2 cup frozen peas and carrots
1/4 tsp white pepper
1 tsp sesame oil
Diced green onion (optional)
1 lb finely diced chicken (optional)
Directions
- Preheat the oven to 400 degrees.
- Melt butter on stove top in sauté pan, add rice and toast for one or two minutes.

- Add the diced onion and sauté for 2 minutes.

- Add the garlic and sauté for one minute.
- Mix broth, soy sauce, mirin, and white pepper in a bowl or jar.

- Remove from heat and add broth mixture, frozen veggies, then stir well.

- Pour into pan.

- Cover tightly with foil and bake for 30 minutes.
- If adding chicken, dice chicken into smalls pieces. Toss with a little oil and salt and pepper.

- Brown chicken in frying pan and set aside.

- After 30 minutes, remove foil from rice and bake for an additional 10 minutes.

- During this last 10 minutes, scramble the eggs in a little vegetable oil, set aside.

- Remove rice from oven, fluff with a fork and add in the sesame oil, green onion and eggs (and chicken if adding). Serve immediately.

- Enjoy!

